MERMAID makes it easy to collaborate on coral reef monitoring by giving teams a centralized platform to collect, manage, and start exploring their data. Before your first dive into MERMAID Collect, you’ll need to create an account and start your first project.
Create your MERMAID account
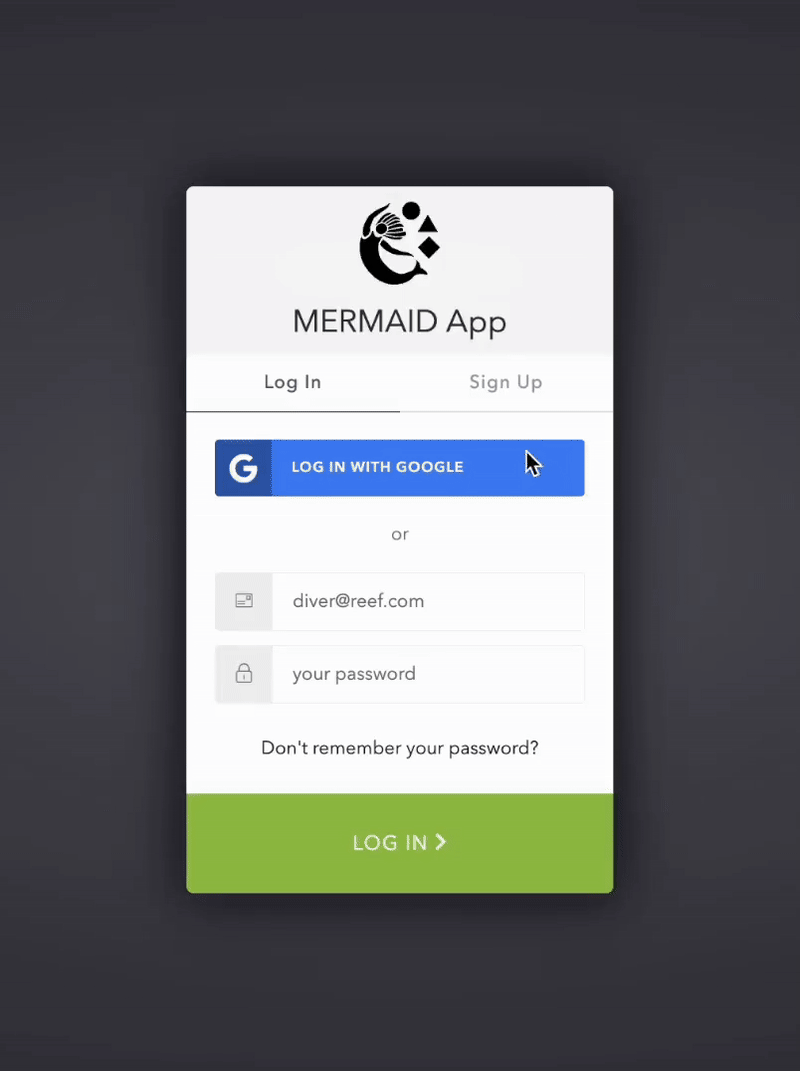
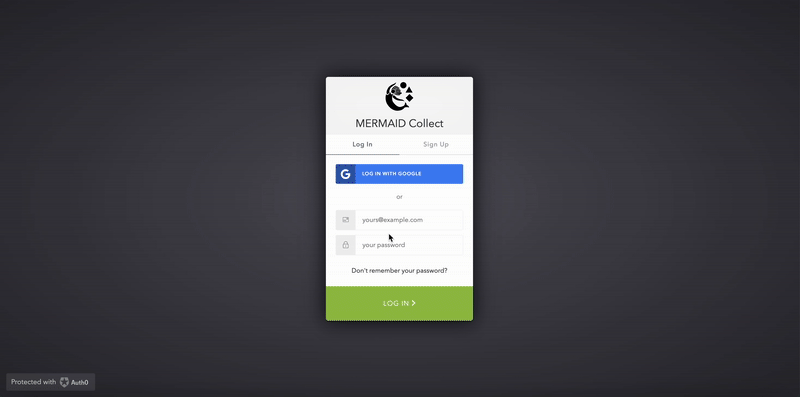
Start by visiting https://app.datamermaid.org and click the Sign up button.
You can register using:
Google login: Connect with your existing Gmail account and password.
Email and password: Use any email to create a MERMAID-specific login.
Your account will be linked to the email you use. After signing up, check your inbox for a confirmation email—click the link to verify and activate your account. If using a Google login, you won’t need to confirm your email.
Note: MERMAID accounts are required to use Collect and interact with data. |
You’ll find your profile settings by clicking your avatar in the upper-right corner of any page. Here, you can view your email address and update your display name. If you use a Google login, your profile picture will be displayed.

Did you forget your password?
If you ever forget your MERMAID password, just click “Don’t remember your password?” on the login screen at app.datamermaid.org to receive a reset email.
Note: If you signed up using Google and forgot your Gmail password, you'll need to reset it directly through Google.
Note: MERMAID Collect works best on Google Chrome, Mozilla Firefox, or Microsoft Edge. Other browsers like Safari and Internet Explorer may not display all features correctly. |
Start by exploring the demo project
The demo project is a ready-to-use test project available from the Projects page in MERMAID Collect. It allows you to explore features, practice workflows, and familiarize yourself with the platform—without creating real project data.

What is the demo project?
The demo project is designed as a safe, interactive space where you can:
Try out data entry workflows (e.g. benthic photo quadrats, fish belt surveys)
Explore project structure and settings (sites, management, users, etc.)
Test features like validations, submissions, and editing
Get comfortable with Collect before creating your own project and working on real data
The available tour of the demo project highlights all key areas from the sidebar that you will work in a real active project.
How to add and delete the demo project
To add the demo project to your workspace at any time:
In the Projects page, from the split button New project, click Add demo project. The demo project has a visible tag DEMO PROJECT that distinguishes this project from a real active project.


To delete the demo project from your workspace at any time:
Within the demo project, go to Project info page and click Delete demo project at the bottom of the page.

Data in the demo project
Any data entered in the demo project:
Will not appear in MERMAID Explore
Is filtered out by default in mermaidr when accessing your projects
This ensures that demo data remains completely separate from real monitoring data.
Key differences from an active project
The demo project behaves like a real project in most ways, with a few important limitations:
No project duplication
You cannot copy the demo project. The copy button in the demo project card is disabled in the Projects page.No user management
You cannot add, remove, or change role of users within the demo project.No visibility in Explore or via the mermaidr
Data from the demo project is not included in Explore and is excluded by default when accessing project data via the mermaidr package in R.
When to use the demo project
Use the demo project when you want to:
Learn how MERMAID Collect works
Train new team members
Test workflows before field surveys
Experiment without impacting real datasets
For any actual monitoring or data collection, you should create a new project instead.
Tip: If you're new to MERMAID, start with the demo project to build confidence before setting up your own project.
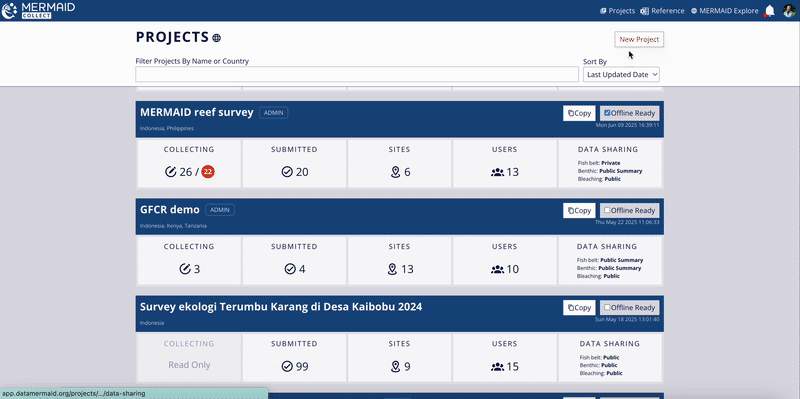
Create your first active project
Projects are at the heart of MERMAID. Think of a project as the digital home for all your coral reef surveys—organized by site, date, team, and method. Each survey you collect is tied to a project, so it’s important to set one up before you begin any data entry.
To start, log into MERMAID Collect, and while online, click the top-right New project button.
You’ll need to:
Enter a project name (required)
Click Create project
When you create a project, you’ll be the admin of that project by default. All project details—like your organization, team members, sites, management regimes, and data sharing policies—can be added after creation. Learn more in Setting Up Your Project. You can also edit your project’s name at any time after it’s created, so don’t worry if it changes later.
Note: Projects can only be created when you're connected to the internet. |
How to define a project
How you define a project in MERMAID is flexible and should reflect the structure of your monitoring work and team. Many users define a project as a single expedition or survey campaign, but the optimal setup depends on your specific context.
Here are key considerations when deciding how to structure your project:
Internet connectivity
If you're working in areas with limited or unreliable internet, keep in mind that projects with large volumes of data can be slower to load. Creating smaller projects per survey trip can help ensure smoother performance when collecting or reviewing data, especially in low-bandwidth environments.Team composition and data access
If multiple partner organizations or teams are involved—especially if they are collecting data at the same location but during different times or under separate initiatives—you may wish to define separate projects (e.g., grant-based projects). This helps maintain data privacy and limits access only to those who need it. In MERMAID, users can only view and edit data within the projects to which they have been added.Survey scope and duration
Projects can span a single field trip or extend over multiple years. If your team conducts repeated surveys over time at the same sites under a consistent protocol and with the same collaborators, a long-term project may be appropriate. If surveys differ in methods, collaborators, or objectives, consider setting up a separate project for each point in time to keep datasets distinct and manageable (e.g., one project per monitoring year).
In short, choose a project structure that supports clear collaboration, efficient data entry, and secure data management—tailored to your workflow and goals.
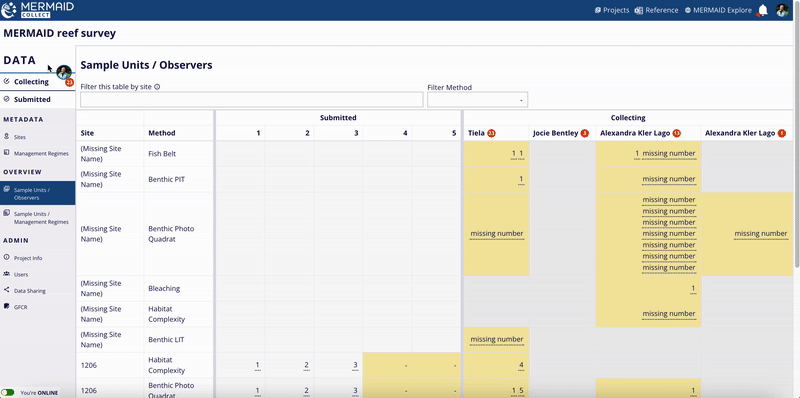
Navigating your project
Once you’ve opened your project in MERMAID Collect, you’ll find everything you need in the sidebar on the left. The sidebar is organized into four main sections: DATA, OVERVIEW, METADATA, and ADMIN. Each section includes tabs that help you manage, collect, and share your project data.
Sidebar overview
Section | Tabs included | What you can do |
DATA | Collecting and Submitted | Enter and review observations as individual sample units. |
OVERVIEW | Sample units / Observers and Sample units / Management regimes | Review sample units and track your team’s progress. |
METADATA | Sites and Management regimes | Manage survey locations and reef management information. |
ADMIN | Project info, Users, and Data sharing | Set up project settings, team, and data privacy. |
What’s shared and what’s private within a project
Each tab in the project sidebar is either shared across all team members or private to you as a contributor—depending on the type of activity.
Shared pages: All information in Submitted, Sites, Management regimes, Project info, Users, and Data sharing pages is visible and editable (based on user role) by everyone in the project team.
Private workspace: The Collecting page is your personal data entry space. Only you can see the sample units you’ve saved here until they are validated and submitted. However, Admins can transfer your sample units to themselves or another user in the same project.
Note: This refers to workspace visibility within a project, not how project data is shared outside the project. You can manage external data access under the Data sharing tab. Learn more in Managing Data Sharing in a Project. |